Moin.
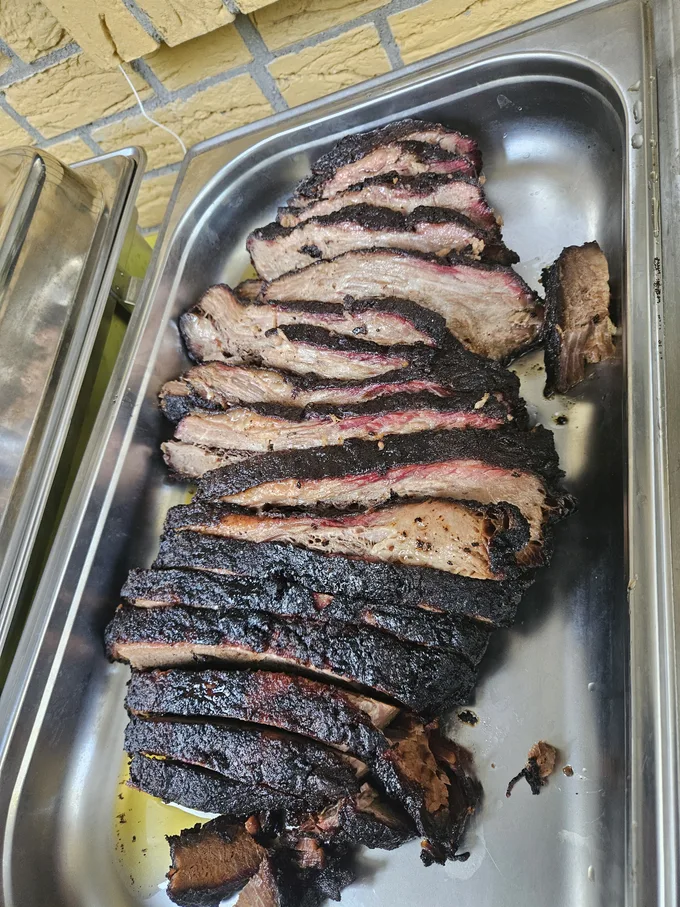
You didn’t come here to read a 2,000-word essay about my childhood, my granddad’s pitmaster legacy, or how the smell of hickory smoke changed my soul. You came here to cook a brisket without turning a 200 Euro piece of meat into expensive shoe leather. I will explain my setup at the bottom of the post in case you’re still here.
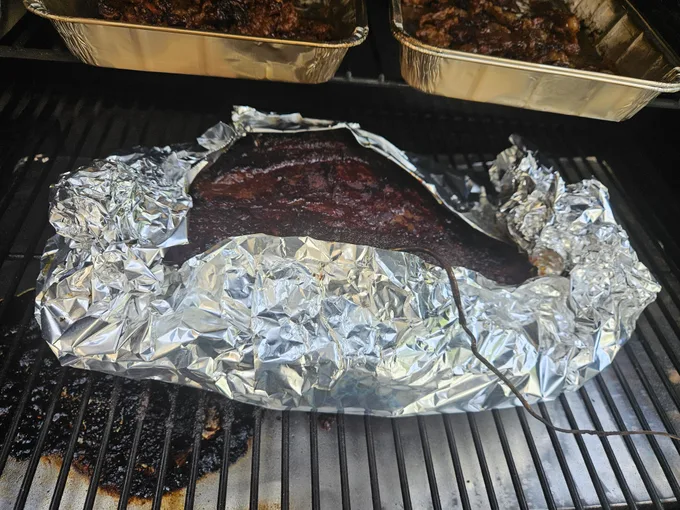
I tried the full Texas Crutch with aluminum foil, tried Texas Crutch with butcher paper, and ultimately landed on the Foil Boat method. IMO it gives you the best results: the bottom and sides braise in their own fat to stay juicy, while the top bark stays exposed to crisp up properly - and it is kinda idiot proof.
Transparency Notice: This post contains affiliate links (e.g., Amazon). If you click through and buy something, Bezos funds my pellet addiction and local server infrastructure, at no extra cost to you. I only link to gear and ingredients I actually use and pay for myself, no sponsored BS.
Ingredients & specs
- Full-Packer Brisket: ~5,000 g (boneless). Pro-tip: Get US Black Angus if you can (e.g., from ClickandGrill). It has significantly more fat and marbling than local German dairy cows, making it much more tender. Note that during Summer these cuts sometimes get sold out, so plan and order meat in advance. If you have access to Metro, they sometimes have decent pieces, but I feel you need to be lucky.
- BBQ Rub / Spice Mix: ~100 g – 200 g Magic Dust or your preferred beef rub. The original Texas way is just salt and pepper, but I like this stuff.
- Heavy-Duty Foil: ~5 meters of 20-micron gastro aluminum foil. Don’t use standard supermarket foil unless you like tears mid-cook where all the juice leaves the meat and your soul leaves your body.
- Extras:
- Prep time: 30-60 min
- Cook / Wait time: 9 - 18 hours (depends on the meat temperature and the size of the piece)
- Yield: You need at least 500g per person, as the meat loses half its weight during cooking. People easily eat more if you’re doing a good job here - on my parties, sometimes the meat is just gone before everyone even had a chance to grab their first piece.
Step 1: Anatomy, trimming & liquid gold
Before cutting, understand the anatomy: a full brisket consists of two connected muscles—the lean Flat and the fatty Point.
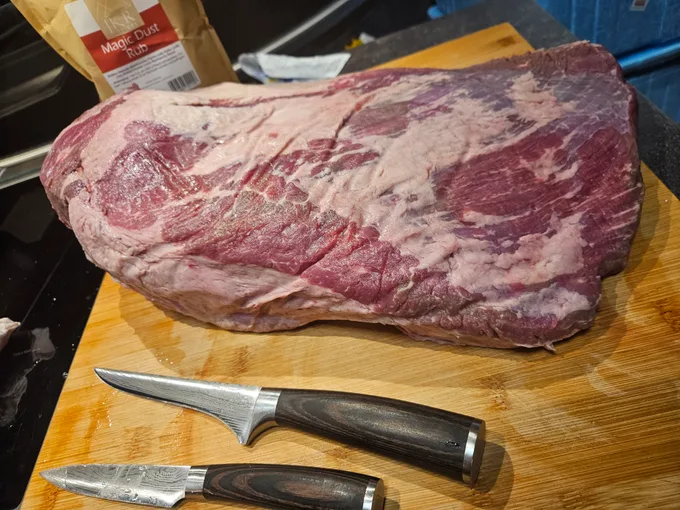
- Trim the Meat: Slice off hard fat lumps from the Point side along with any loose, thin edges that will burn anyway. On the Flat side, thin down the fat cap so it covers the muscle with an even 5-10mm layer. Watch a YouTube trimming guide or three if you’re doing this for the first time. It takes some practice.
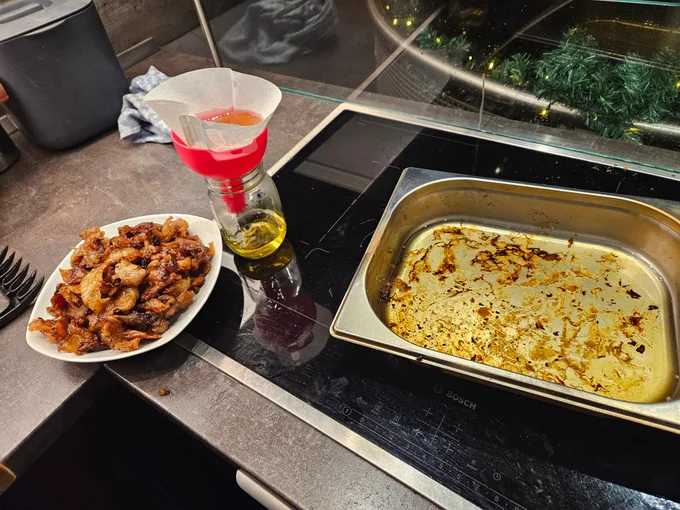
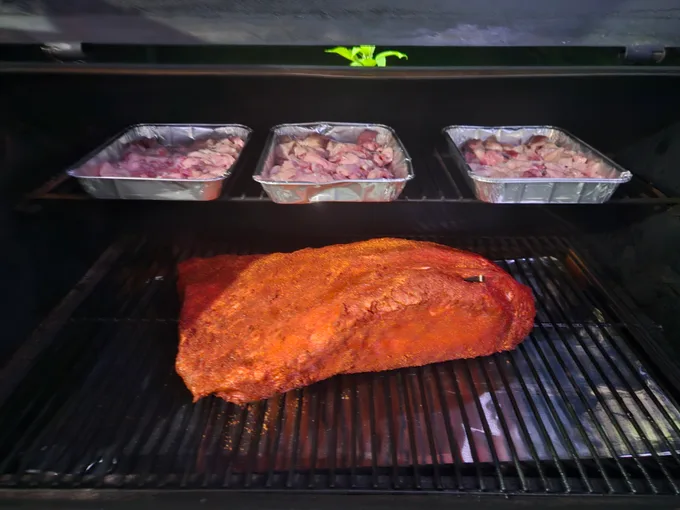
- Smoked Tallow (Don’t waste fat): Toss all fat trimmings into aluminum trays and place them on the smoker next to the brisket during Phase 1. Once rendered, strain the liquid fat through a coffee filter or paper towel and funnel into a glass jar, let it cool, and keep it in the fridge. It essentially infuses your boring scrambled eggs breakfast with brisket flavor. Use it as cooking fat where appropriate.
Step 2: Seasoning
- Rub roughly 100 g to 200 g of rub evenly over all sides of the brisket. Use a spice shaker if you wanna be fancy but I usually just shake it right from the bag.
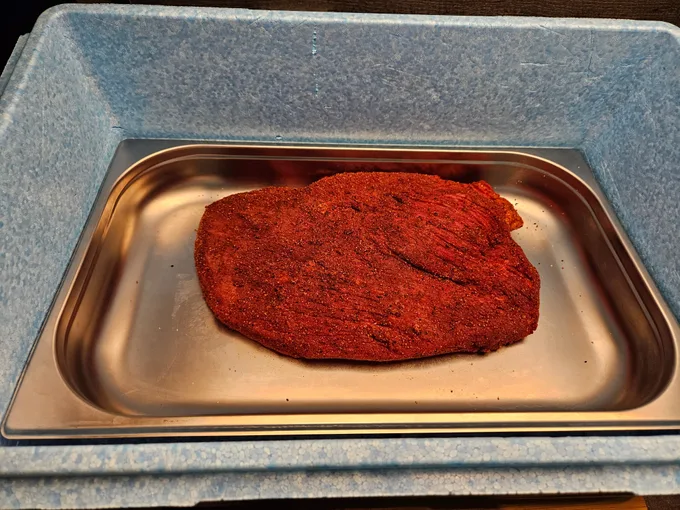
Step 3: Phase 1 – The smoke
- Preheat your smoker to 110°C.
- Place the brisket on the grates, fat side up.
- Smoke until internal temperature reaches 74°C (165°F). Expect 6 to 10 hours depending on meat size and ambient temp.
- Usually I start smoking at 22:00 - 23:00 before I go to bed.
Step 4: Phase 2 – The foil boat
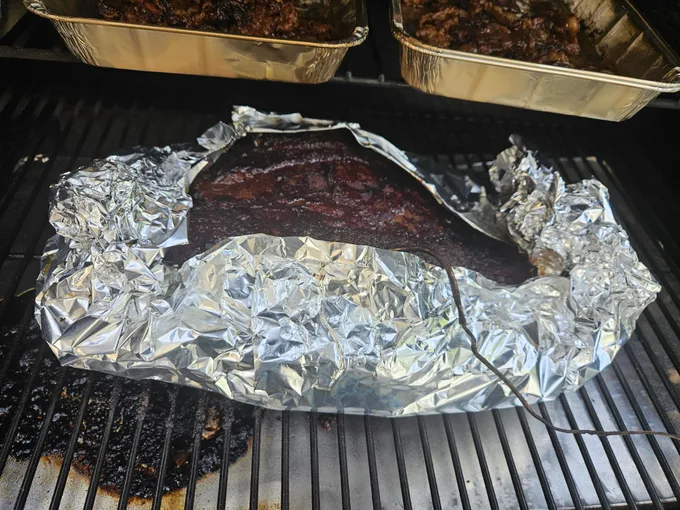
- Build the Boat: The next morning, pull the brisket and wrap the bottom and sides with thick aluminum foil (the Döner kind), crimping the edges tightly to form an open-top boat around the meat.
- Crank the Temp: Set the smoker to 130°C.
- Finish: Keep smoking in the boat until the internal temp hits 95°C and your probe slides in like warm butter.
Step 5: Phase 3 – The Rest
Do not skip this unless you like dry meat.
- Wrap the brisket completely in foil and tuck it into a Styrofoam cooler box for at least 2 hours.
- Optional holding: Set your oven to 75°C if you need to buffer serving time.
How I got here
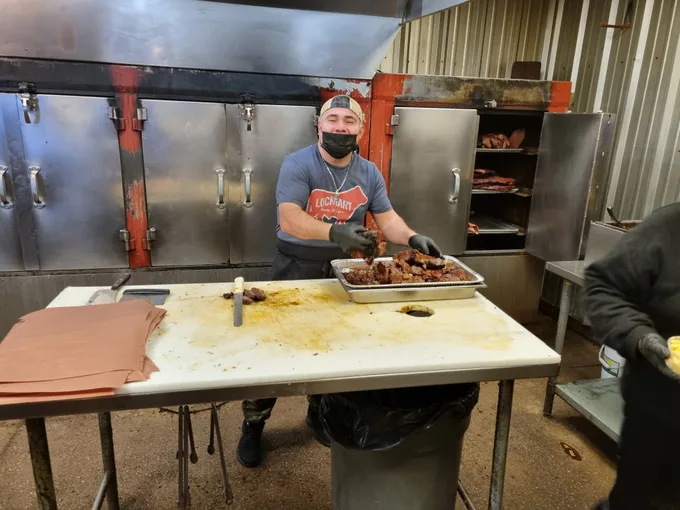
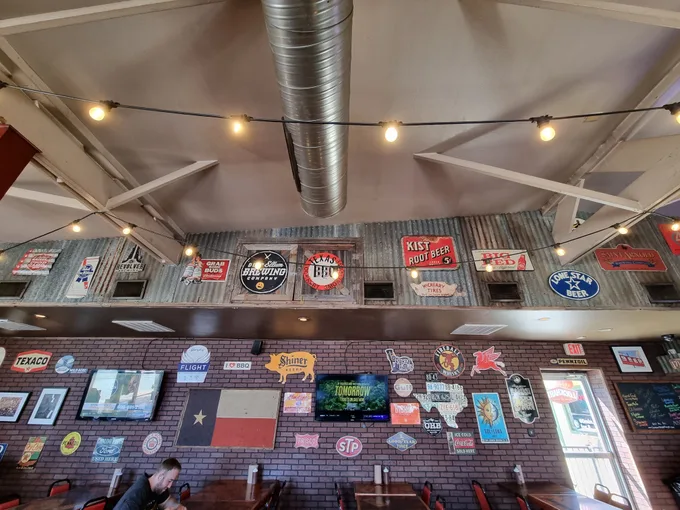
As I was involved with the execution of the Flix/Greyhund merger on the software side of things, I was lucky enough to visit Dallas, TX a few times. My new coworkers showed me what was missing from my life and took me to Lockhart Smokehouse Dallas where I had Brisket for the first time and decided then and there that I need more of this in my life.
My smoker setup
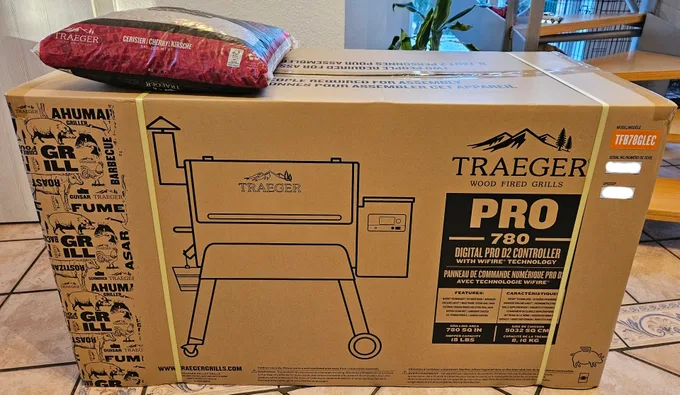
Another coworker with some BBQ experience explained his home setup to me: Apparently Traeger is the household brand to go for.
After we figured out you can get Traeger in Germany as well, my wife got me the “big starter model”, a PRO D2 780 in 2023 as a combined christmas/birthday present.
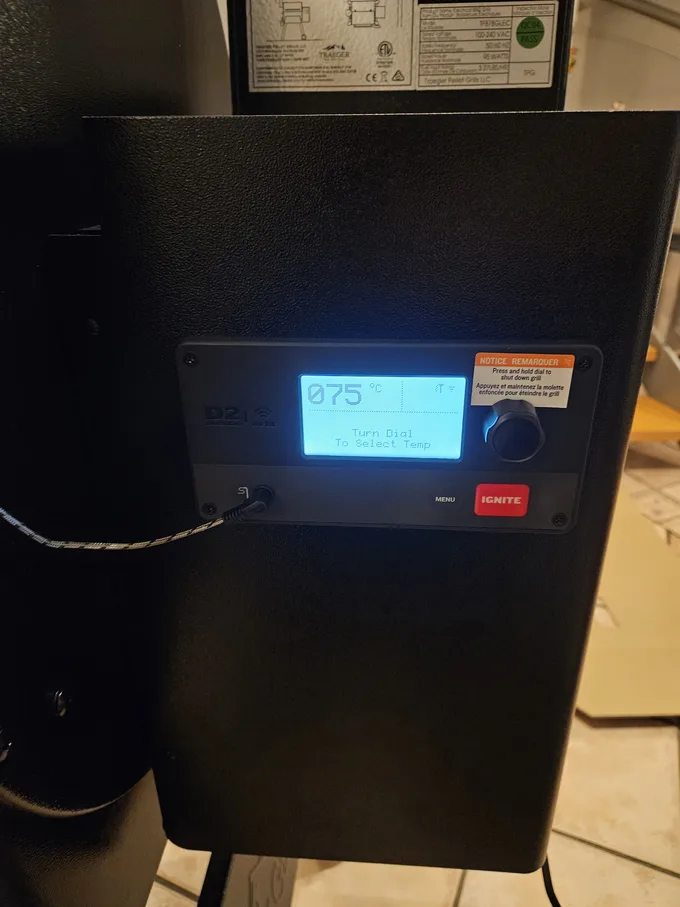
The cool thing is that you set a temperature and it feeds wood pellets automatically to roughly keep the set temperature so you can leave it alone over night. It has Wifi, an app and you can connect it to Home Assistant if you want. You need to be present to press the ignite button once, everything else is automatable.
There is a hardware sensor addon that warns you before the Pellets are empty and you need to refill them. I think the more expensive models have this built-in. This can easily happen if you’re smoking over night and it’s cold outside, like in Winter. Definitely saved my ass once or twice. I would recommend to also get a vacuum, you need to clean the ash from the smoker every few cooks.
There you go, enjoy awesome meat and gain the laurels from your guests complimenting your BBQ mastery.